
This whole process will be easier done in Kali.

Windows does not have a native way to mount/read/write to Ext4 partitions and the 3rd party applications I tried did not work for me on my setup. I am booting in Kali to complete setup after Etcher writes to the SD card.I am using Etcher to write a full image to the SD card.I have BitVise installed on my Windows machine so I can run a terminal to interface with the Pi once everything is up and running.Once you've setup SSH functionality and a static IP you can finish the install from a Windows machine. Everything here can be accomplished in an environment other than Windows if you read the referenced guides noted above. I started writing this setup from a laptop running Windows 10 developer preview and then booted into a Live Kali Linux environment because after 45 minutes of trying different opensource software to access the extended SDcard partitions with no success, I chose to use Kali.

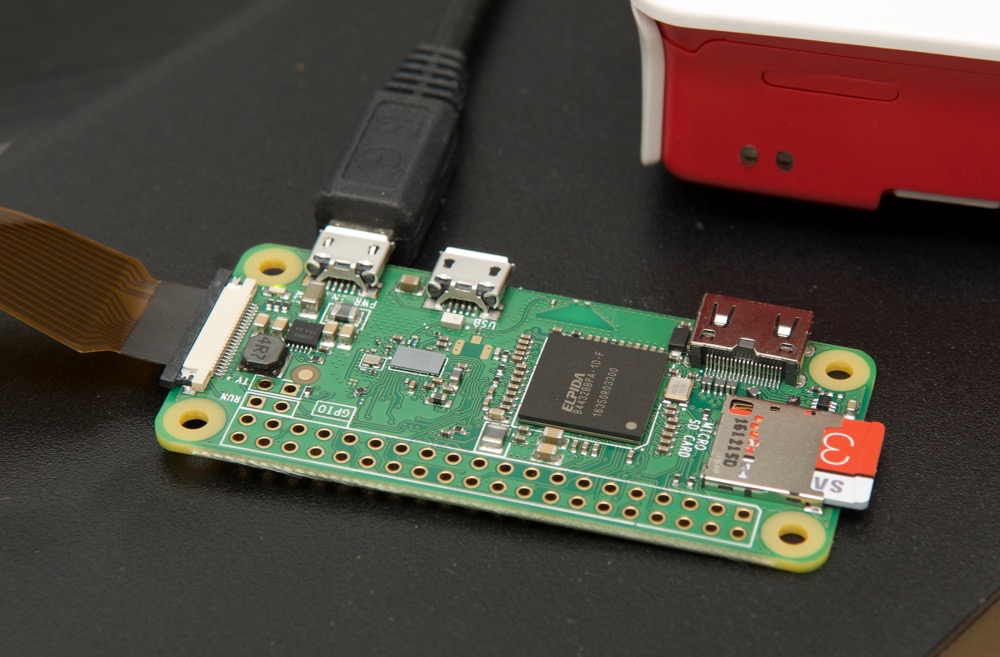
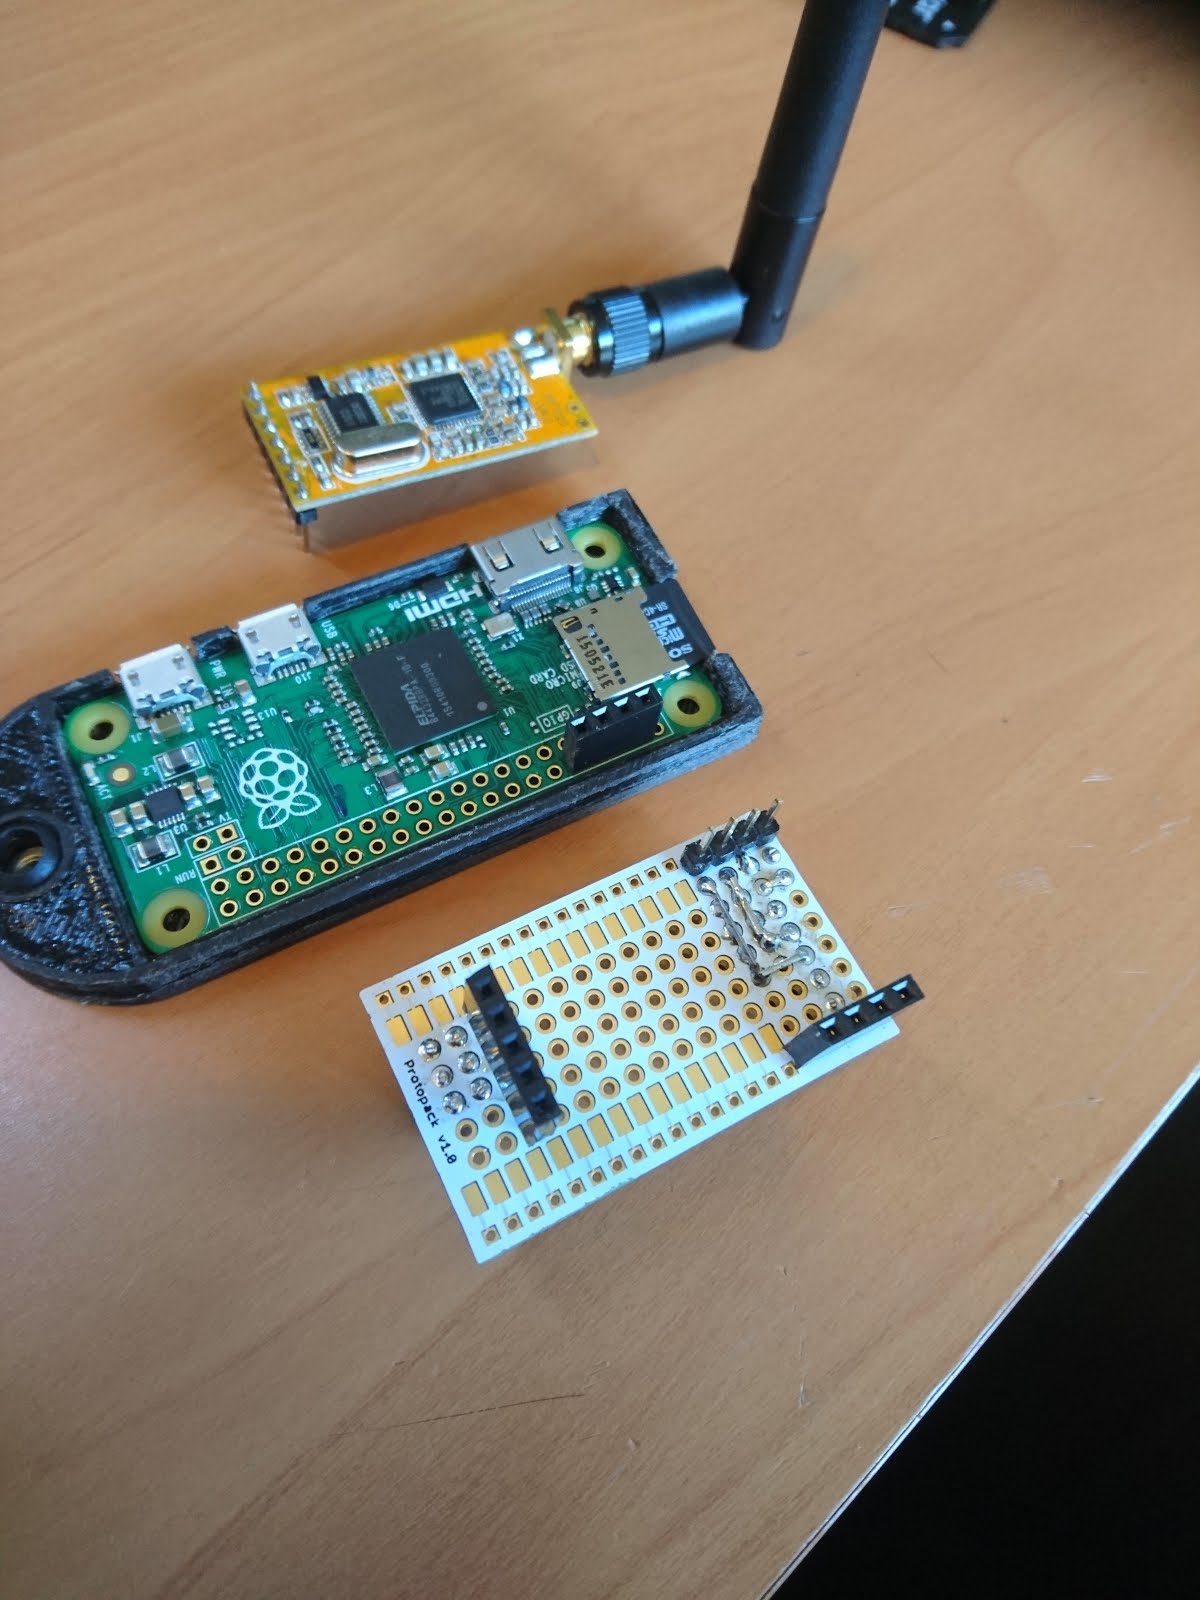
This guide was derived using a combination of the following: If you don't want to disconnect all of those devices from your other equipment in order to use the graphical NOOBS installer this article is for you. If you don't have a spare monitor with an HDMI input, a mini-HDMI to HDMI adapter, a mini-USB to USB adapter, a USB hub, a spare keyboard and an extra mouse this article is for you. Most of this will be accomplished through the command line. This is a guide on setting up a Raspberry Pi Zero W as a headless network monitor with the addition of a push button shut down/power up service, a custom message of the day and creating a backup image to expedite new test projects.


 0 kommentar(er)
